
Easy Toilet Paper Roll Bat Craft for Kids + Free Wing Template
This post contains affiliate links. I may earn a small commission at no extra cost to you when you shop through my links.
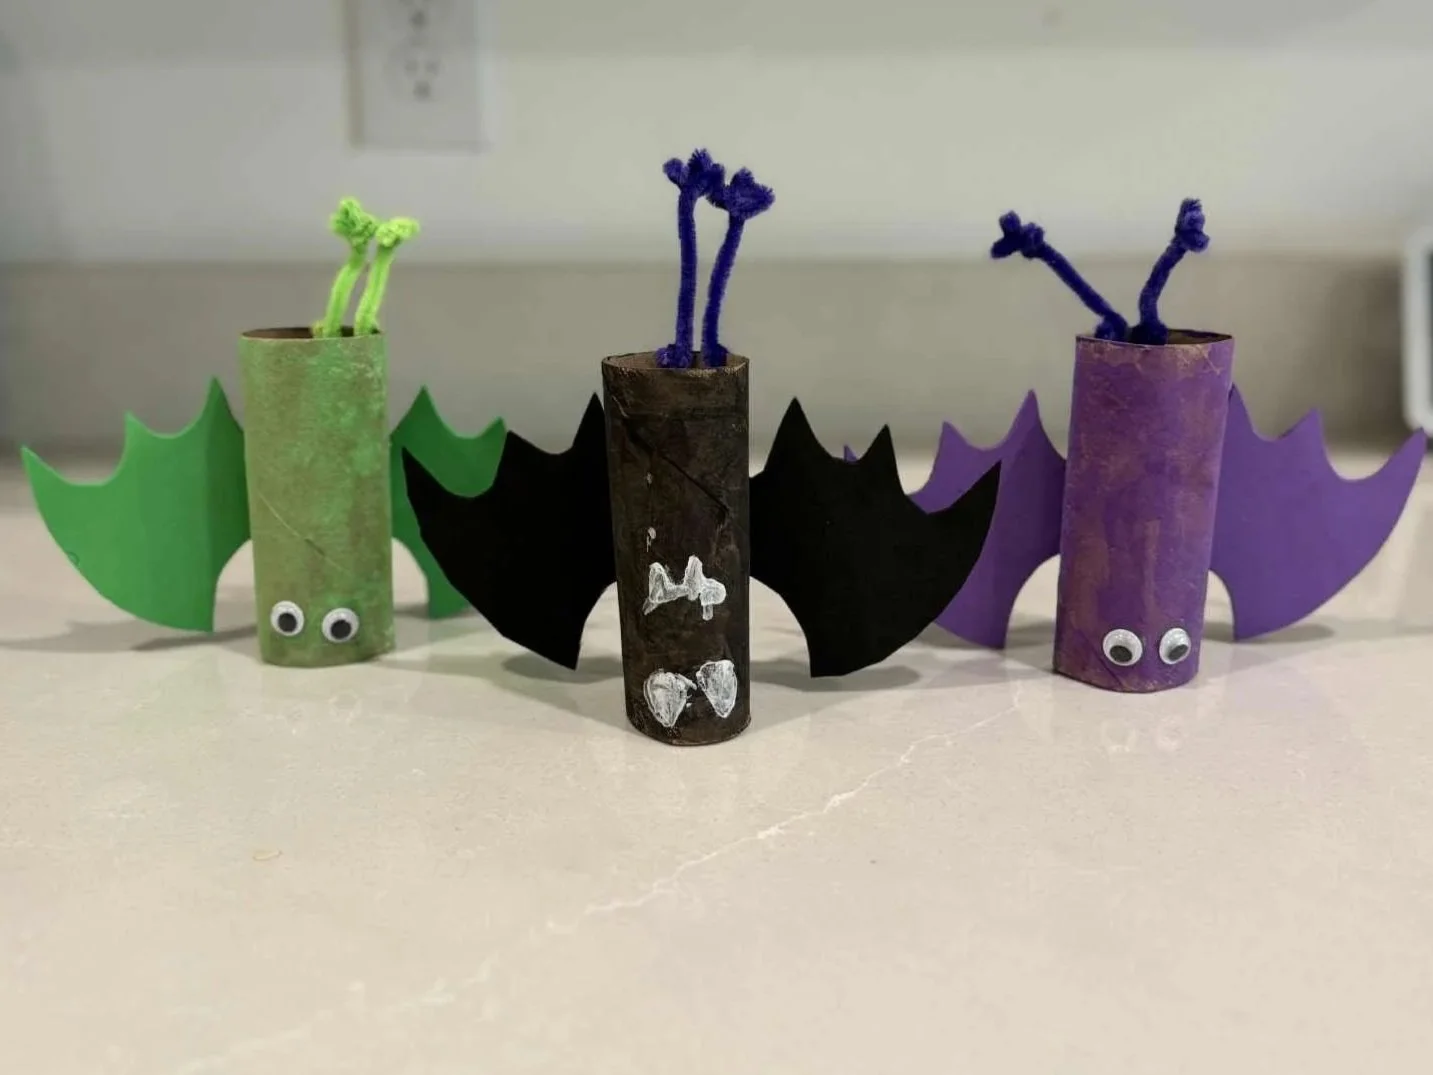
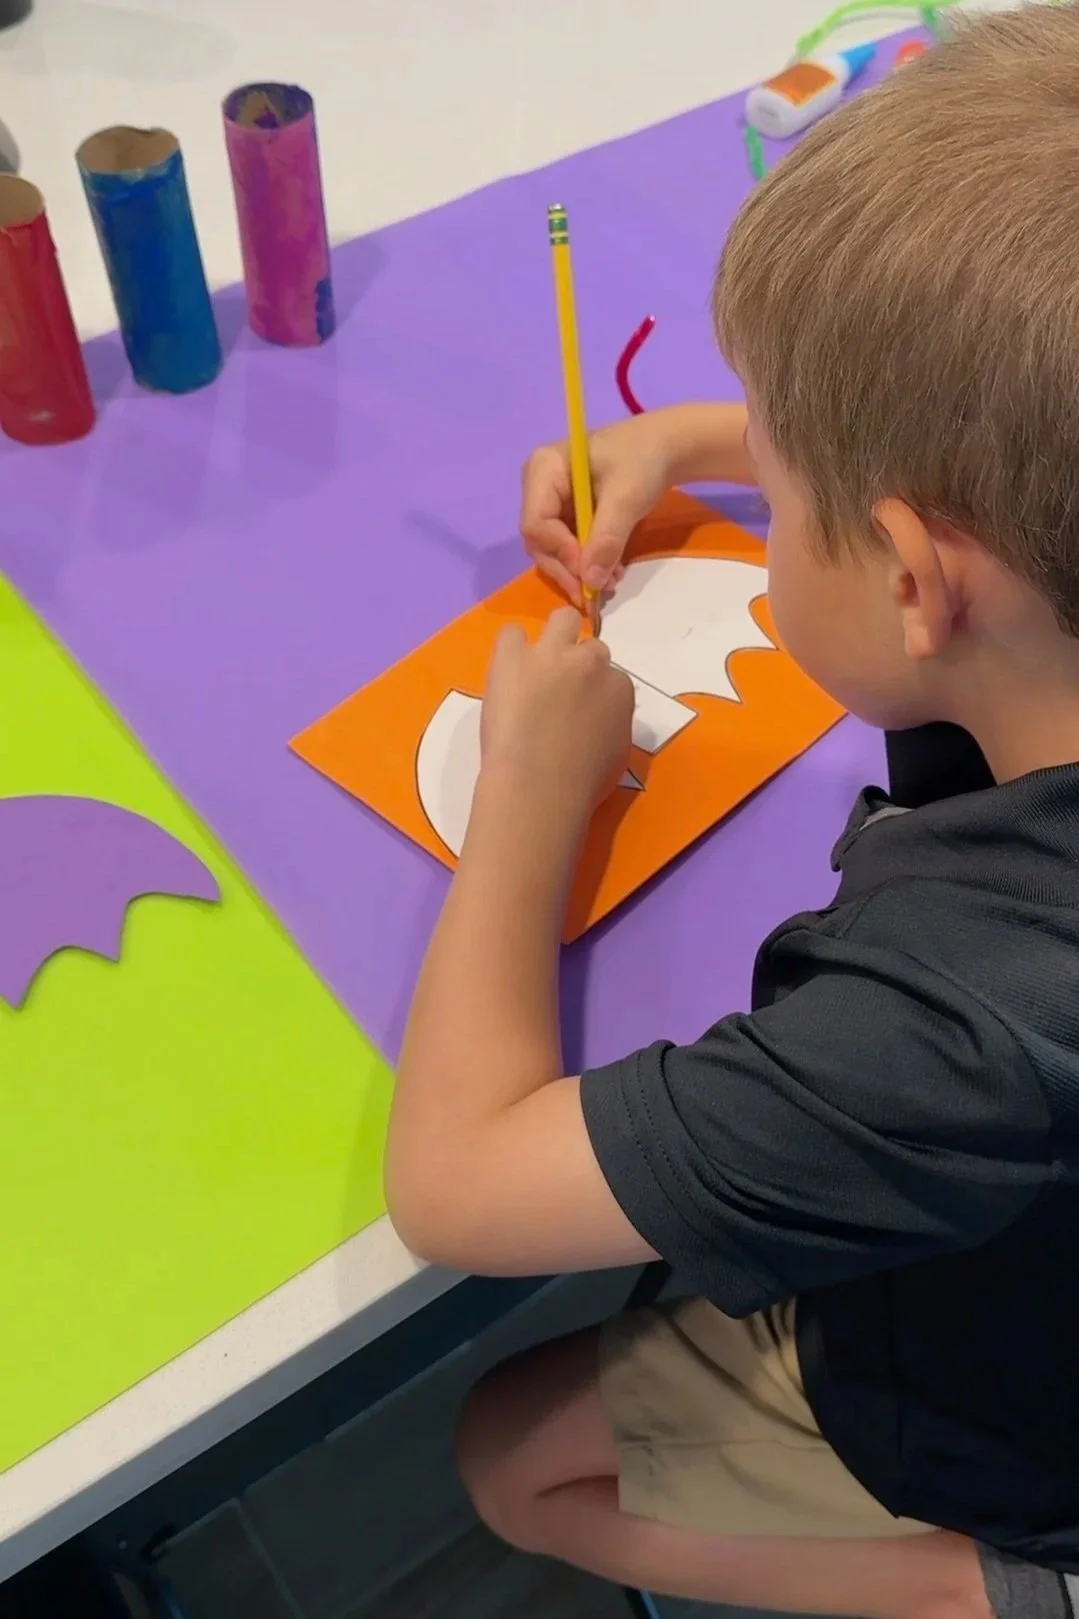
My kids love decorating their bedroom doors for every holiday, so I’m always looking for easy crafts they can actually make themselves and then use as decorations. For Halloween, we made these toilet paper roll bats, and this may be one of the easiest crafts we’ve done. My 10-, 4-, and 2-year-olds all made one, so it worked surprisingly well for three very different ages. They were able to customize their bats however they wanted and then proudly display them on their doors.
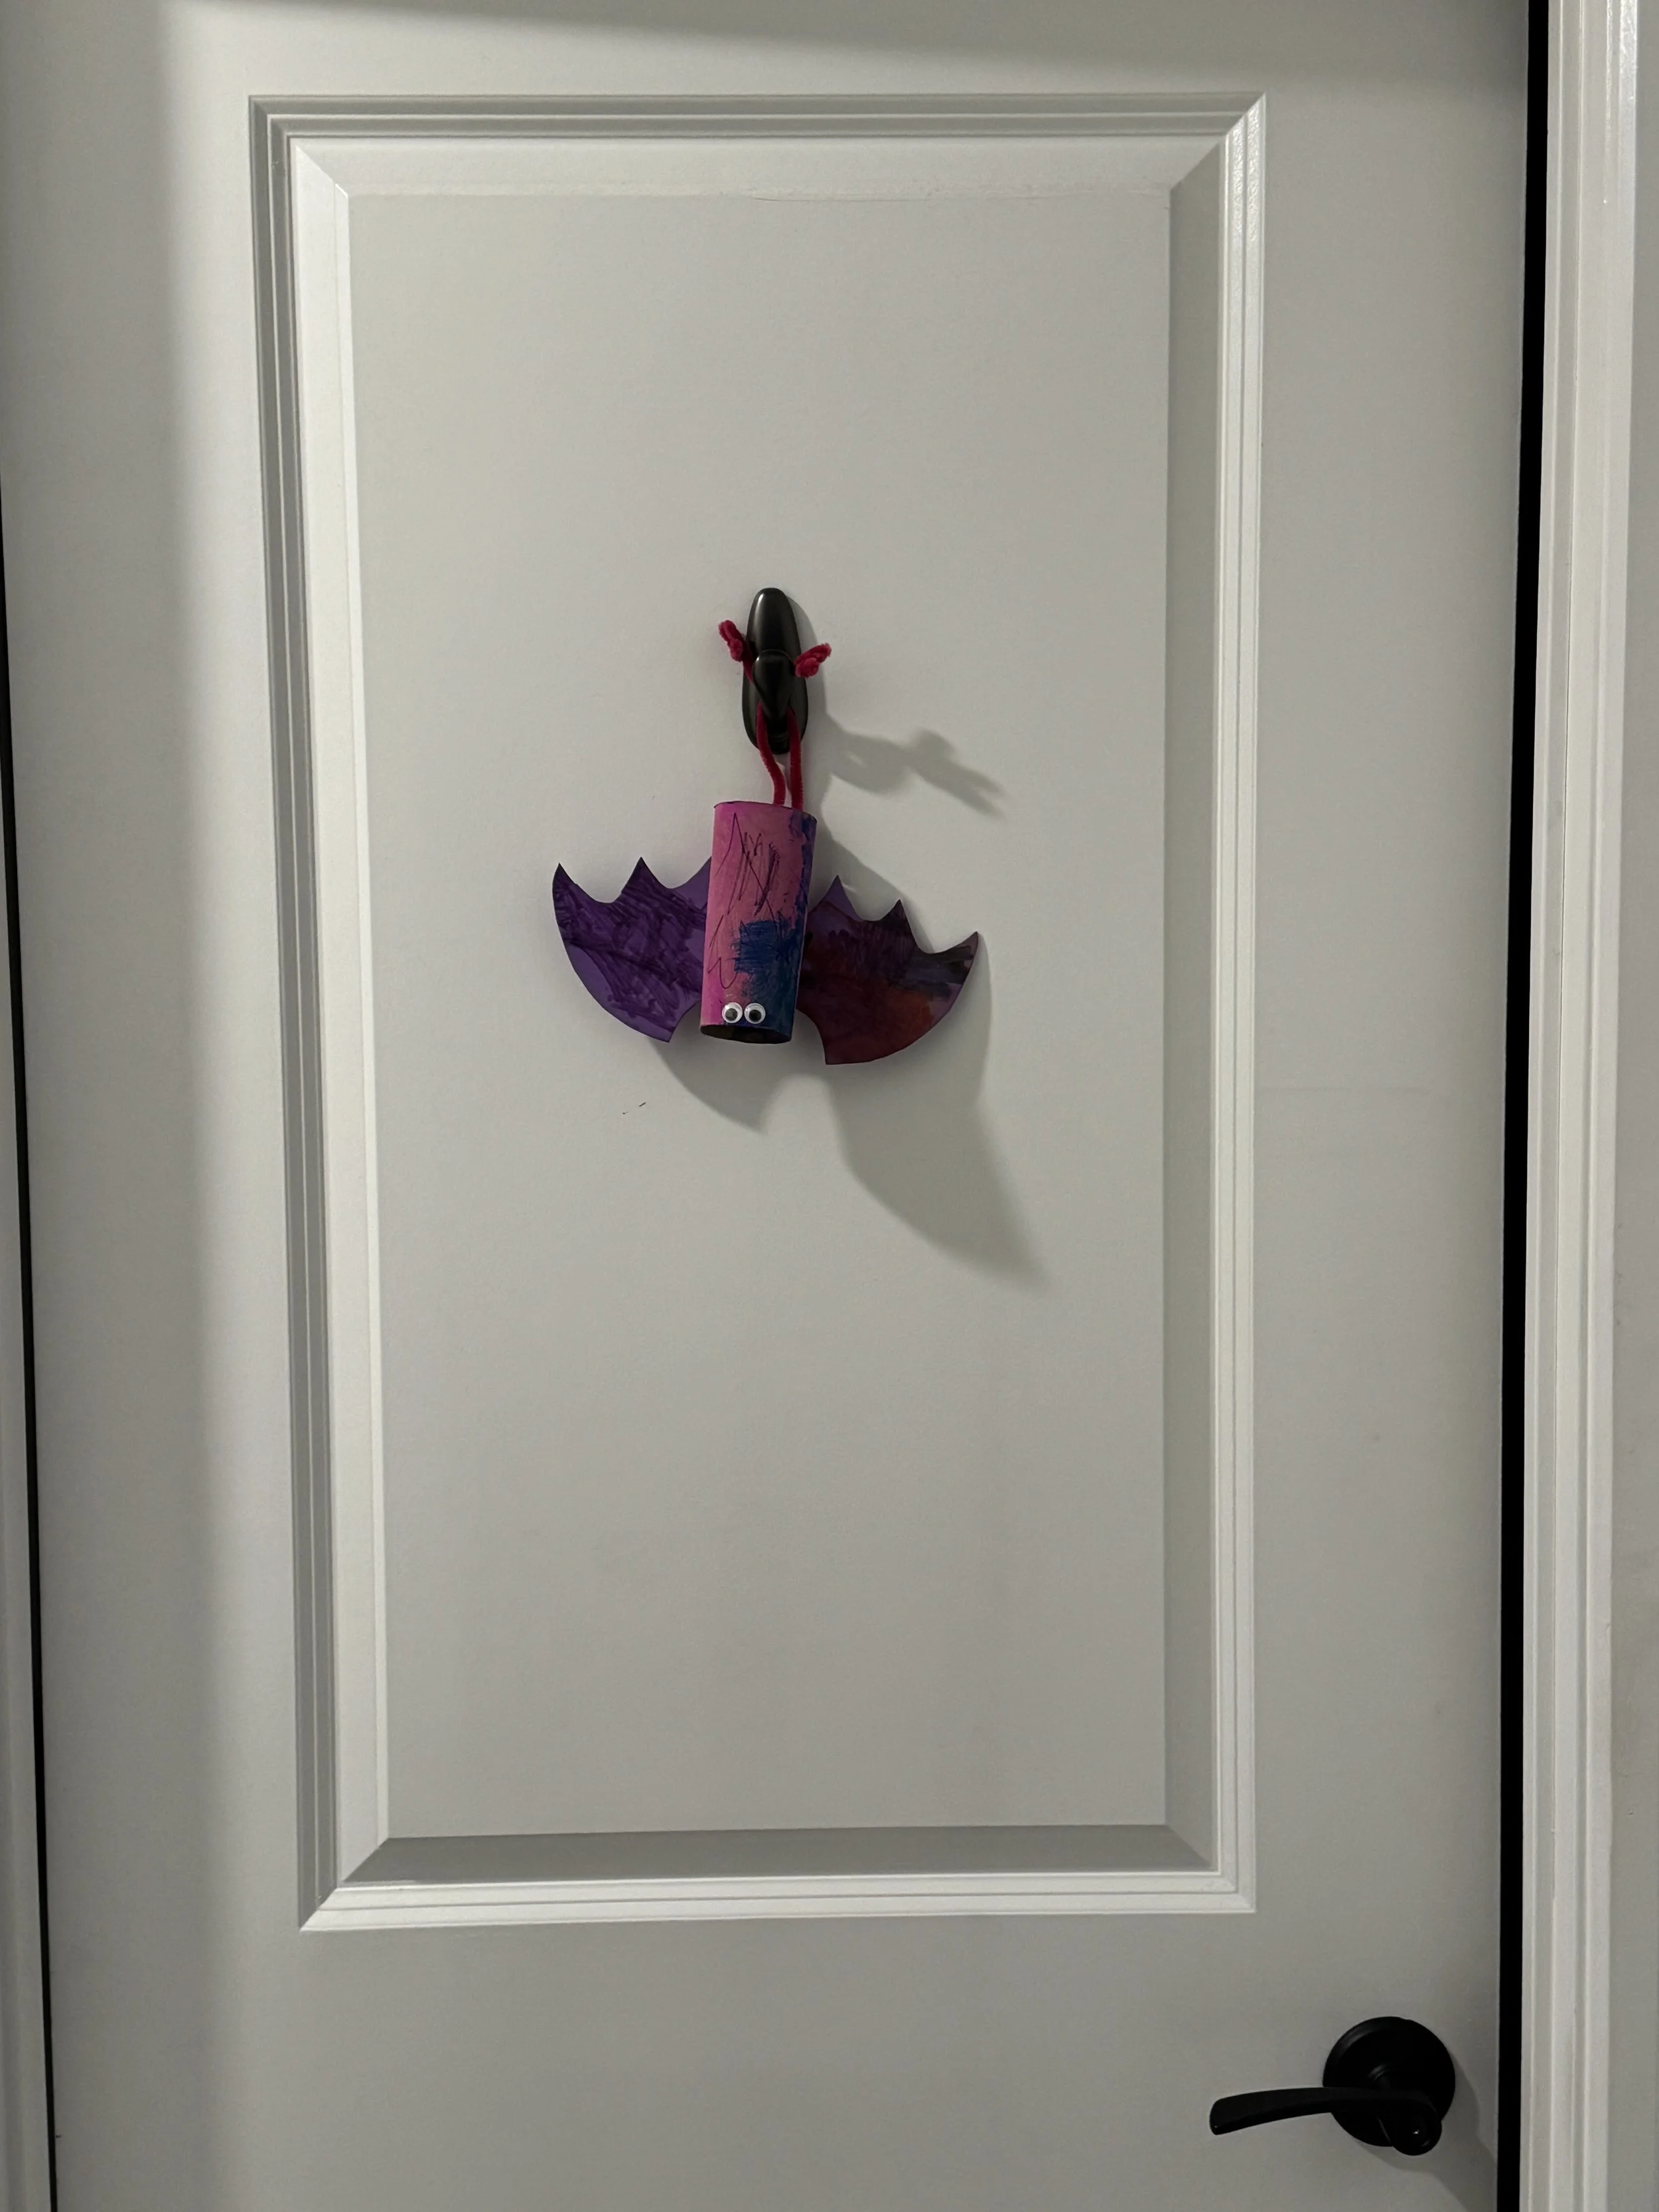
These are perfect for hanging on bedroom doors, turning into a spooky garland, or displaying around your child’s room.
At a Glance
Ages: Toddler through elementary, with adult help as needed
Time: About 1 hour, plus time for paint to dry
Difficulty: Easy
Cost: Low, especially if you already have basic craft supplies
Best for: Halloween afternoon activity, classroom-style craft, or kids’ bedroom-door decor
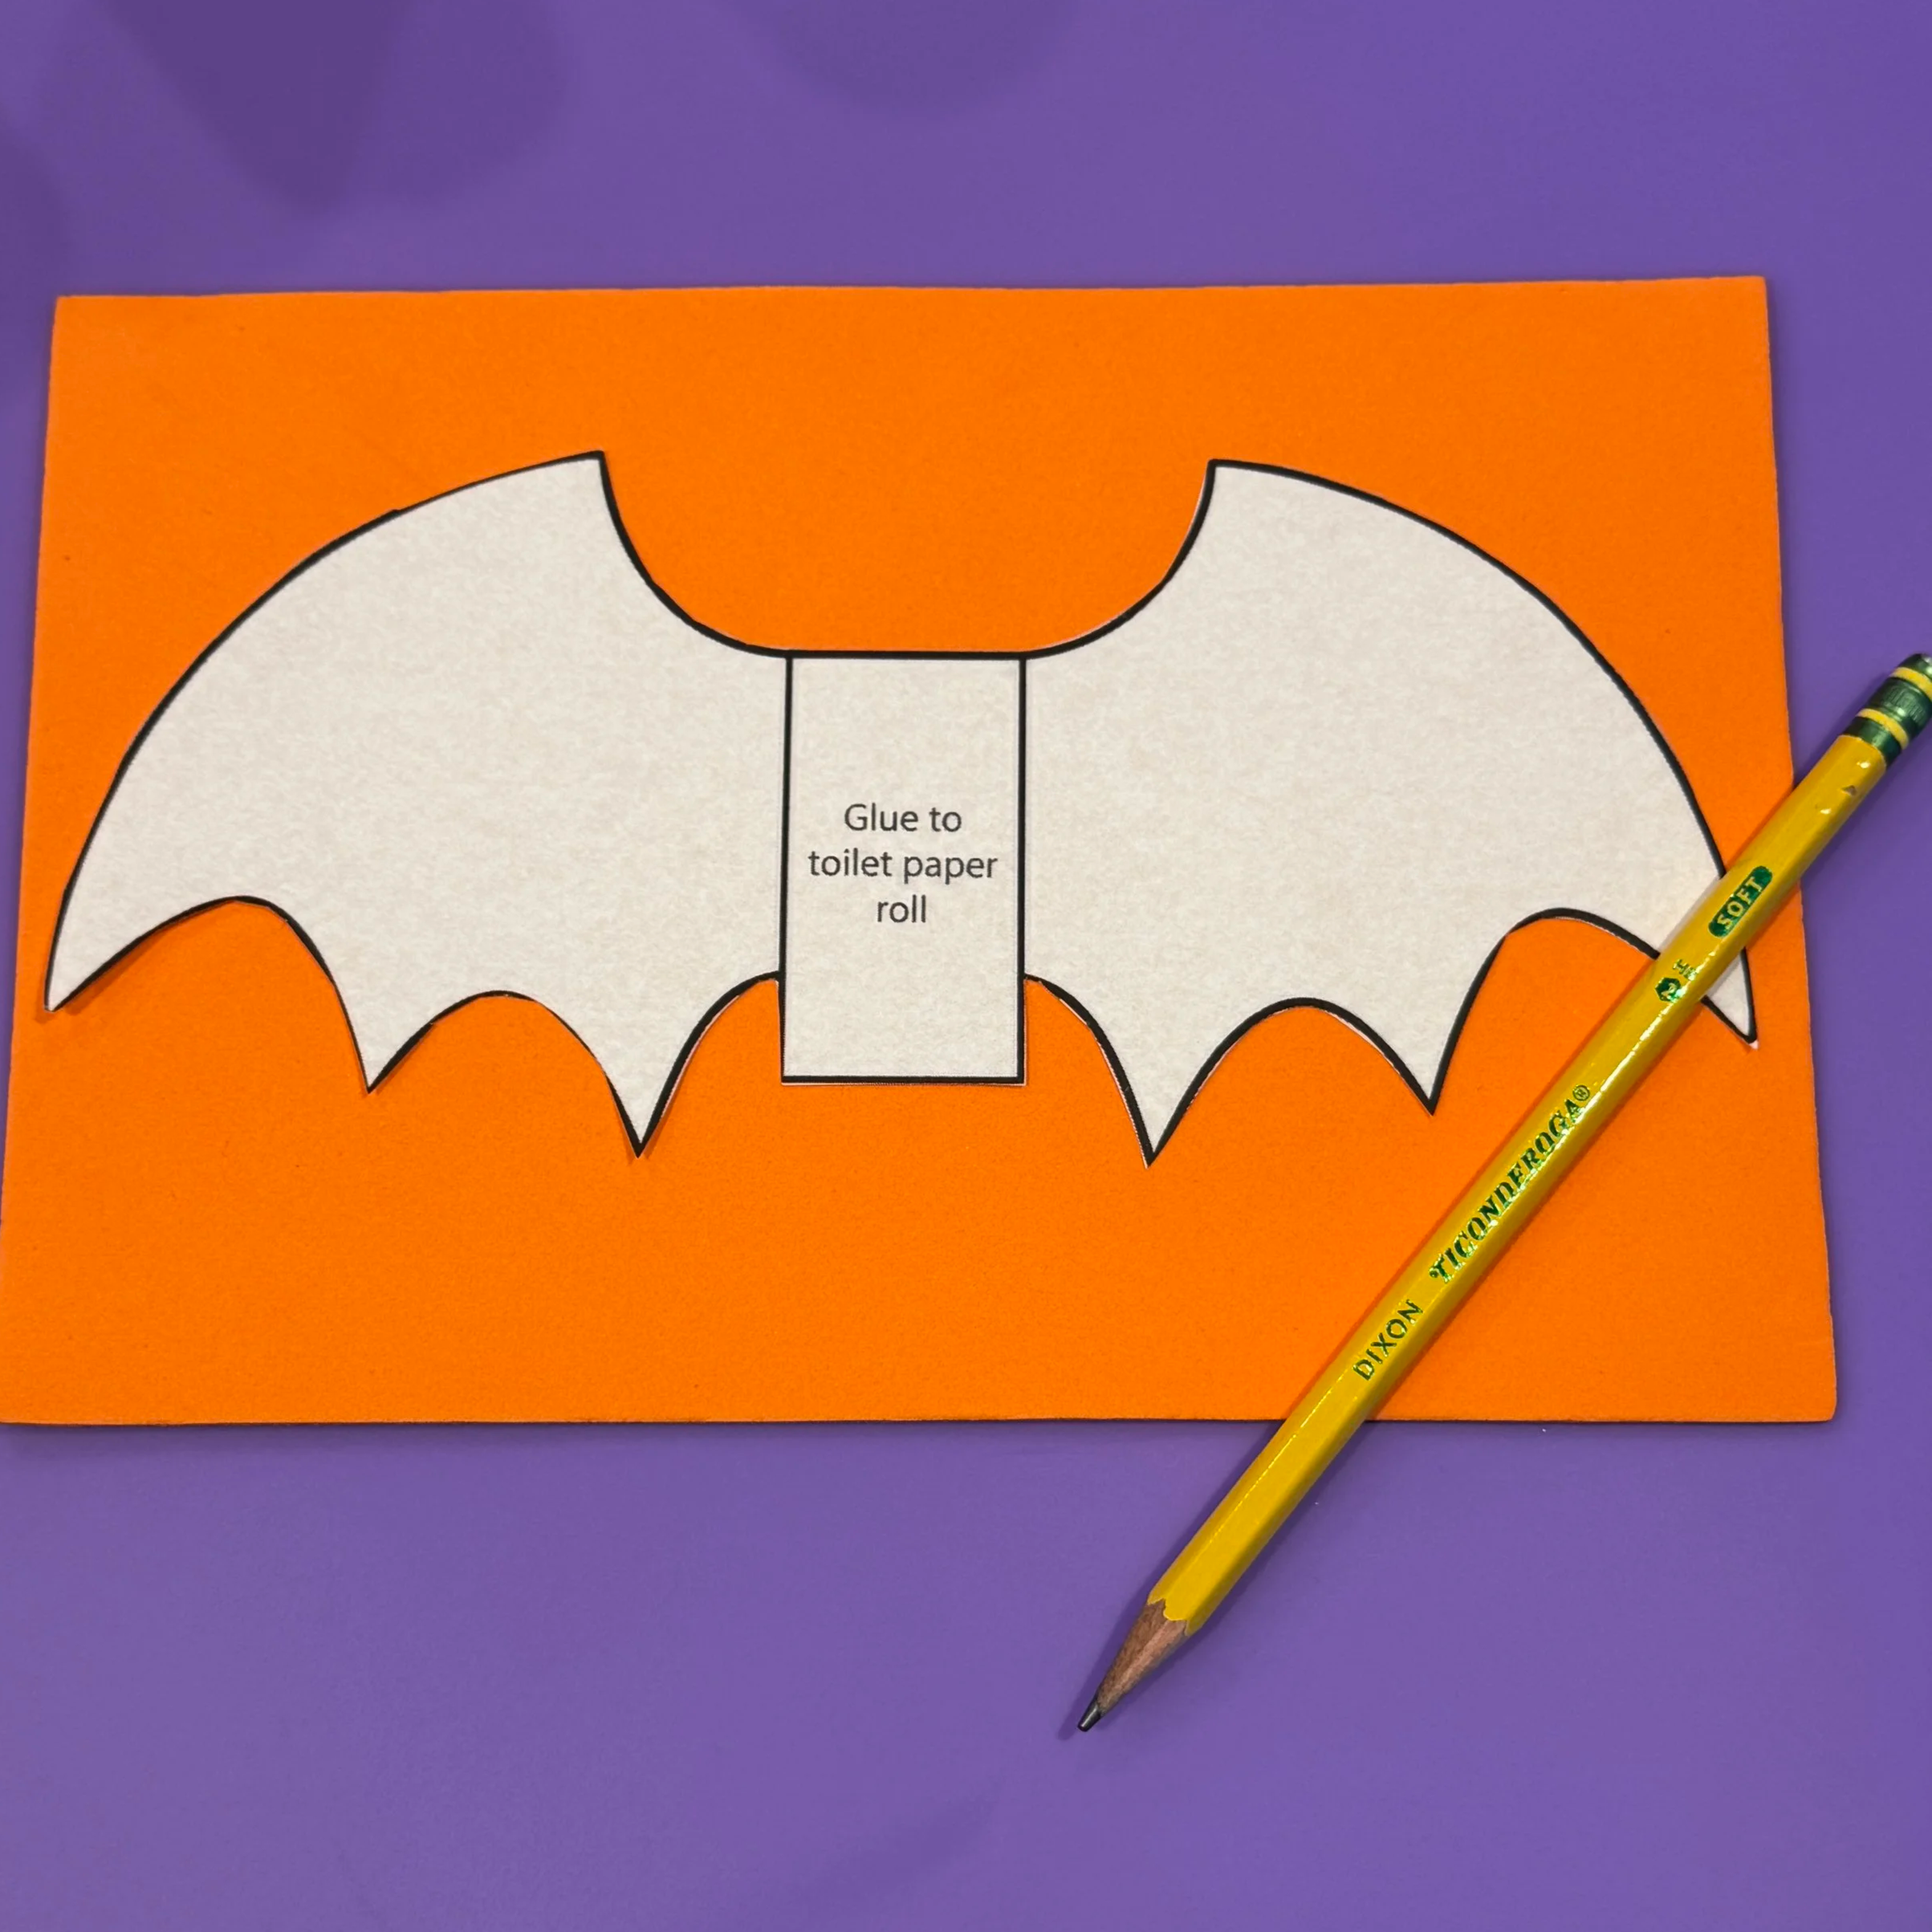
Want to make this even easier? Download my free bat wing template, print it at 100% size, and trace it onto construction paper or craft foam.
What You Need to Make Toilet Paper Roll Bats
These are typical kids’ craft supplies you probably already have at home:
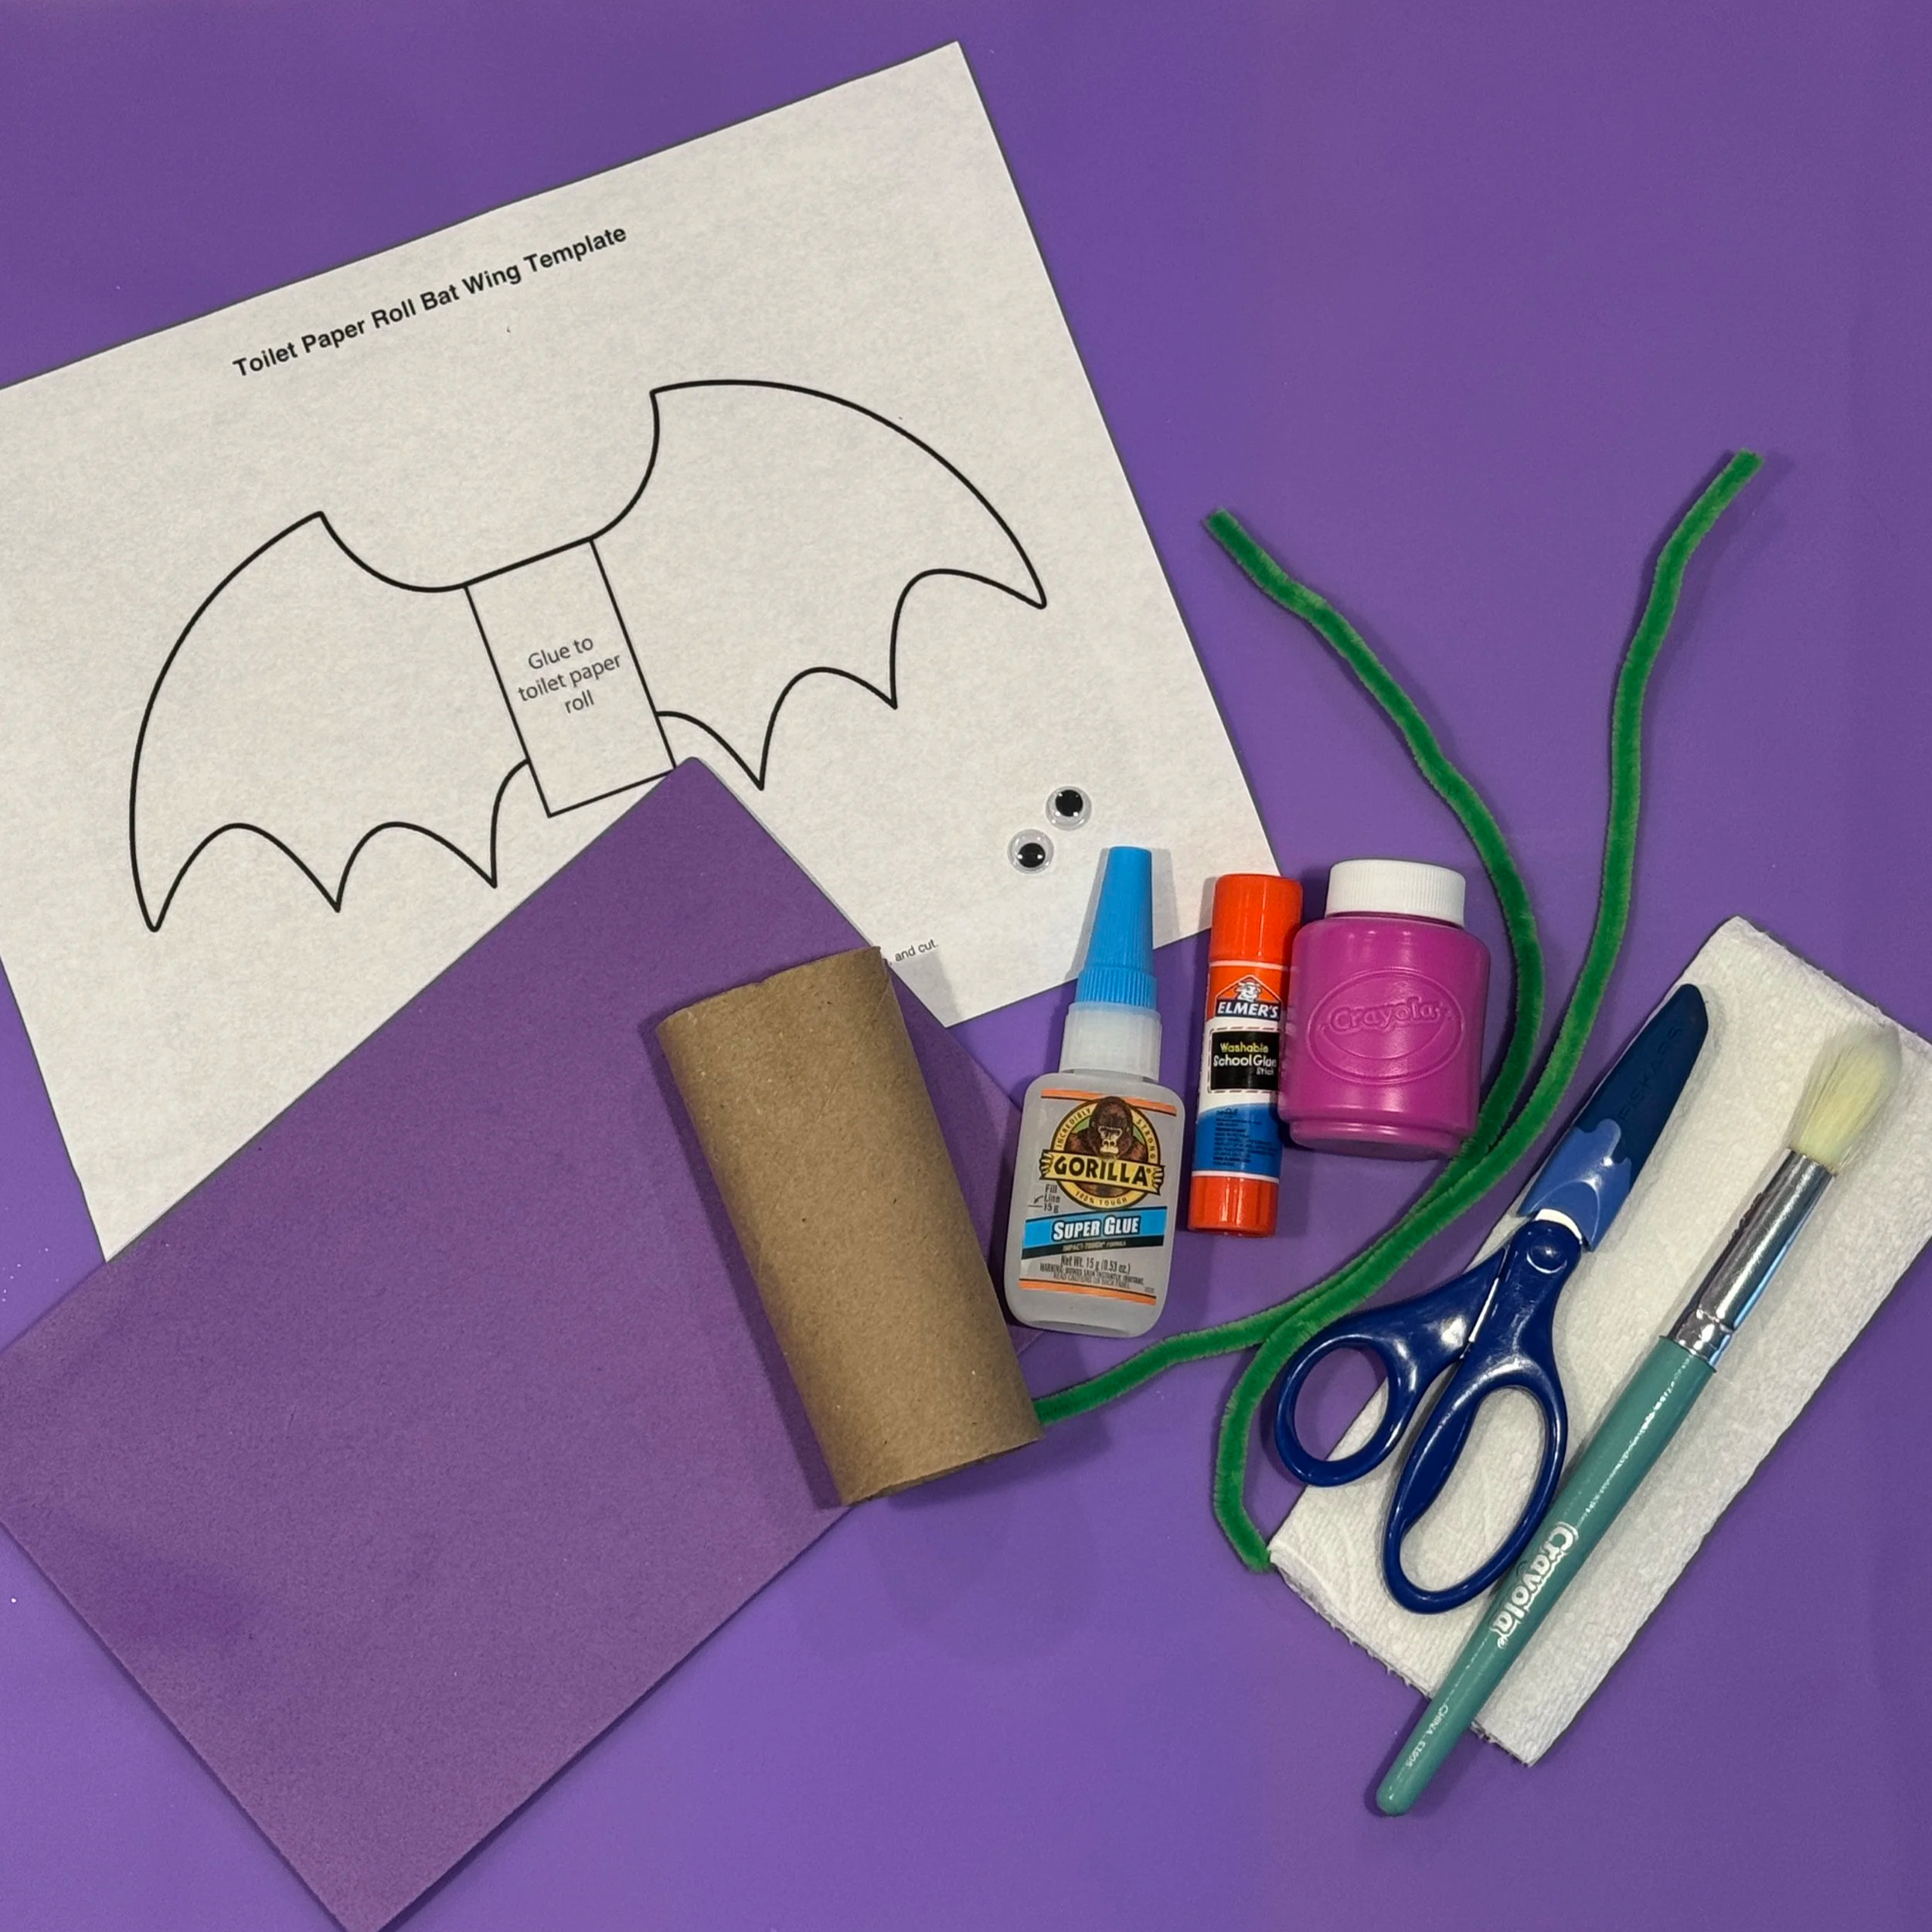
Empty toilet paper rolls (one per bat)
Paint in any color for the bat body
Paintbrushes or sponges
Construction paper or craft foam
Scissors
Pencil
Heavy-duty craft glue or a low-temp glue gun (only if needed for thicker craft foam)
For younger kids: Adult help will likely be needed for scissors, hole punching, pipe-cleaner ends, and any hot glue.
Mom Tip: If you want a low-mess option, skip the paint and wrap the toilet paper rolls in any color of construction paper instead.
Step-by-Step Instructions
1. Paint the rolls
Let your kids pick their favorite paint colors. Ours dried pretty quickly because my kids didn’t use super-thick layers of paint. You can always set them aside a little longer if needed.
2. Trace and cut the wings
While the paint dries, trace the bat wing shape onto construction paper or craft foam. This part is easier for older kids, but I had my younger ones attempt tracing and cutting for practice. I helped my youngest with tracing and cutting to make it easier. Want to skip free-handing? You can download my free bat wing template here.
3. Punch holes and attach feet
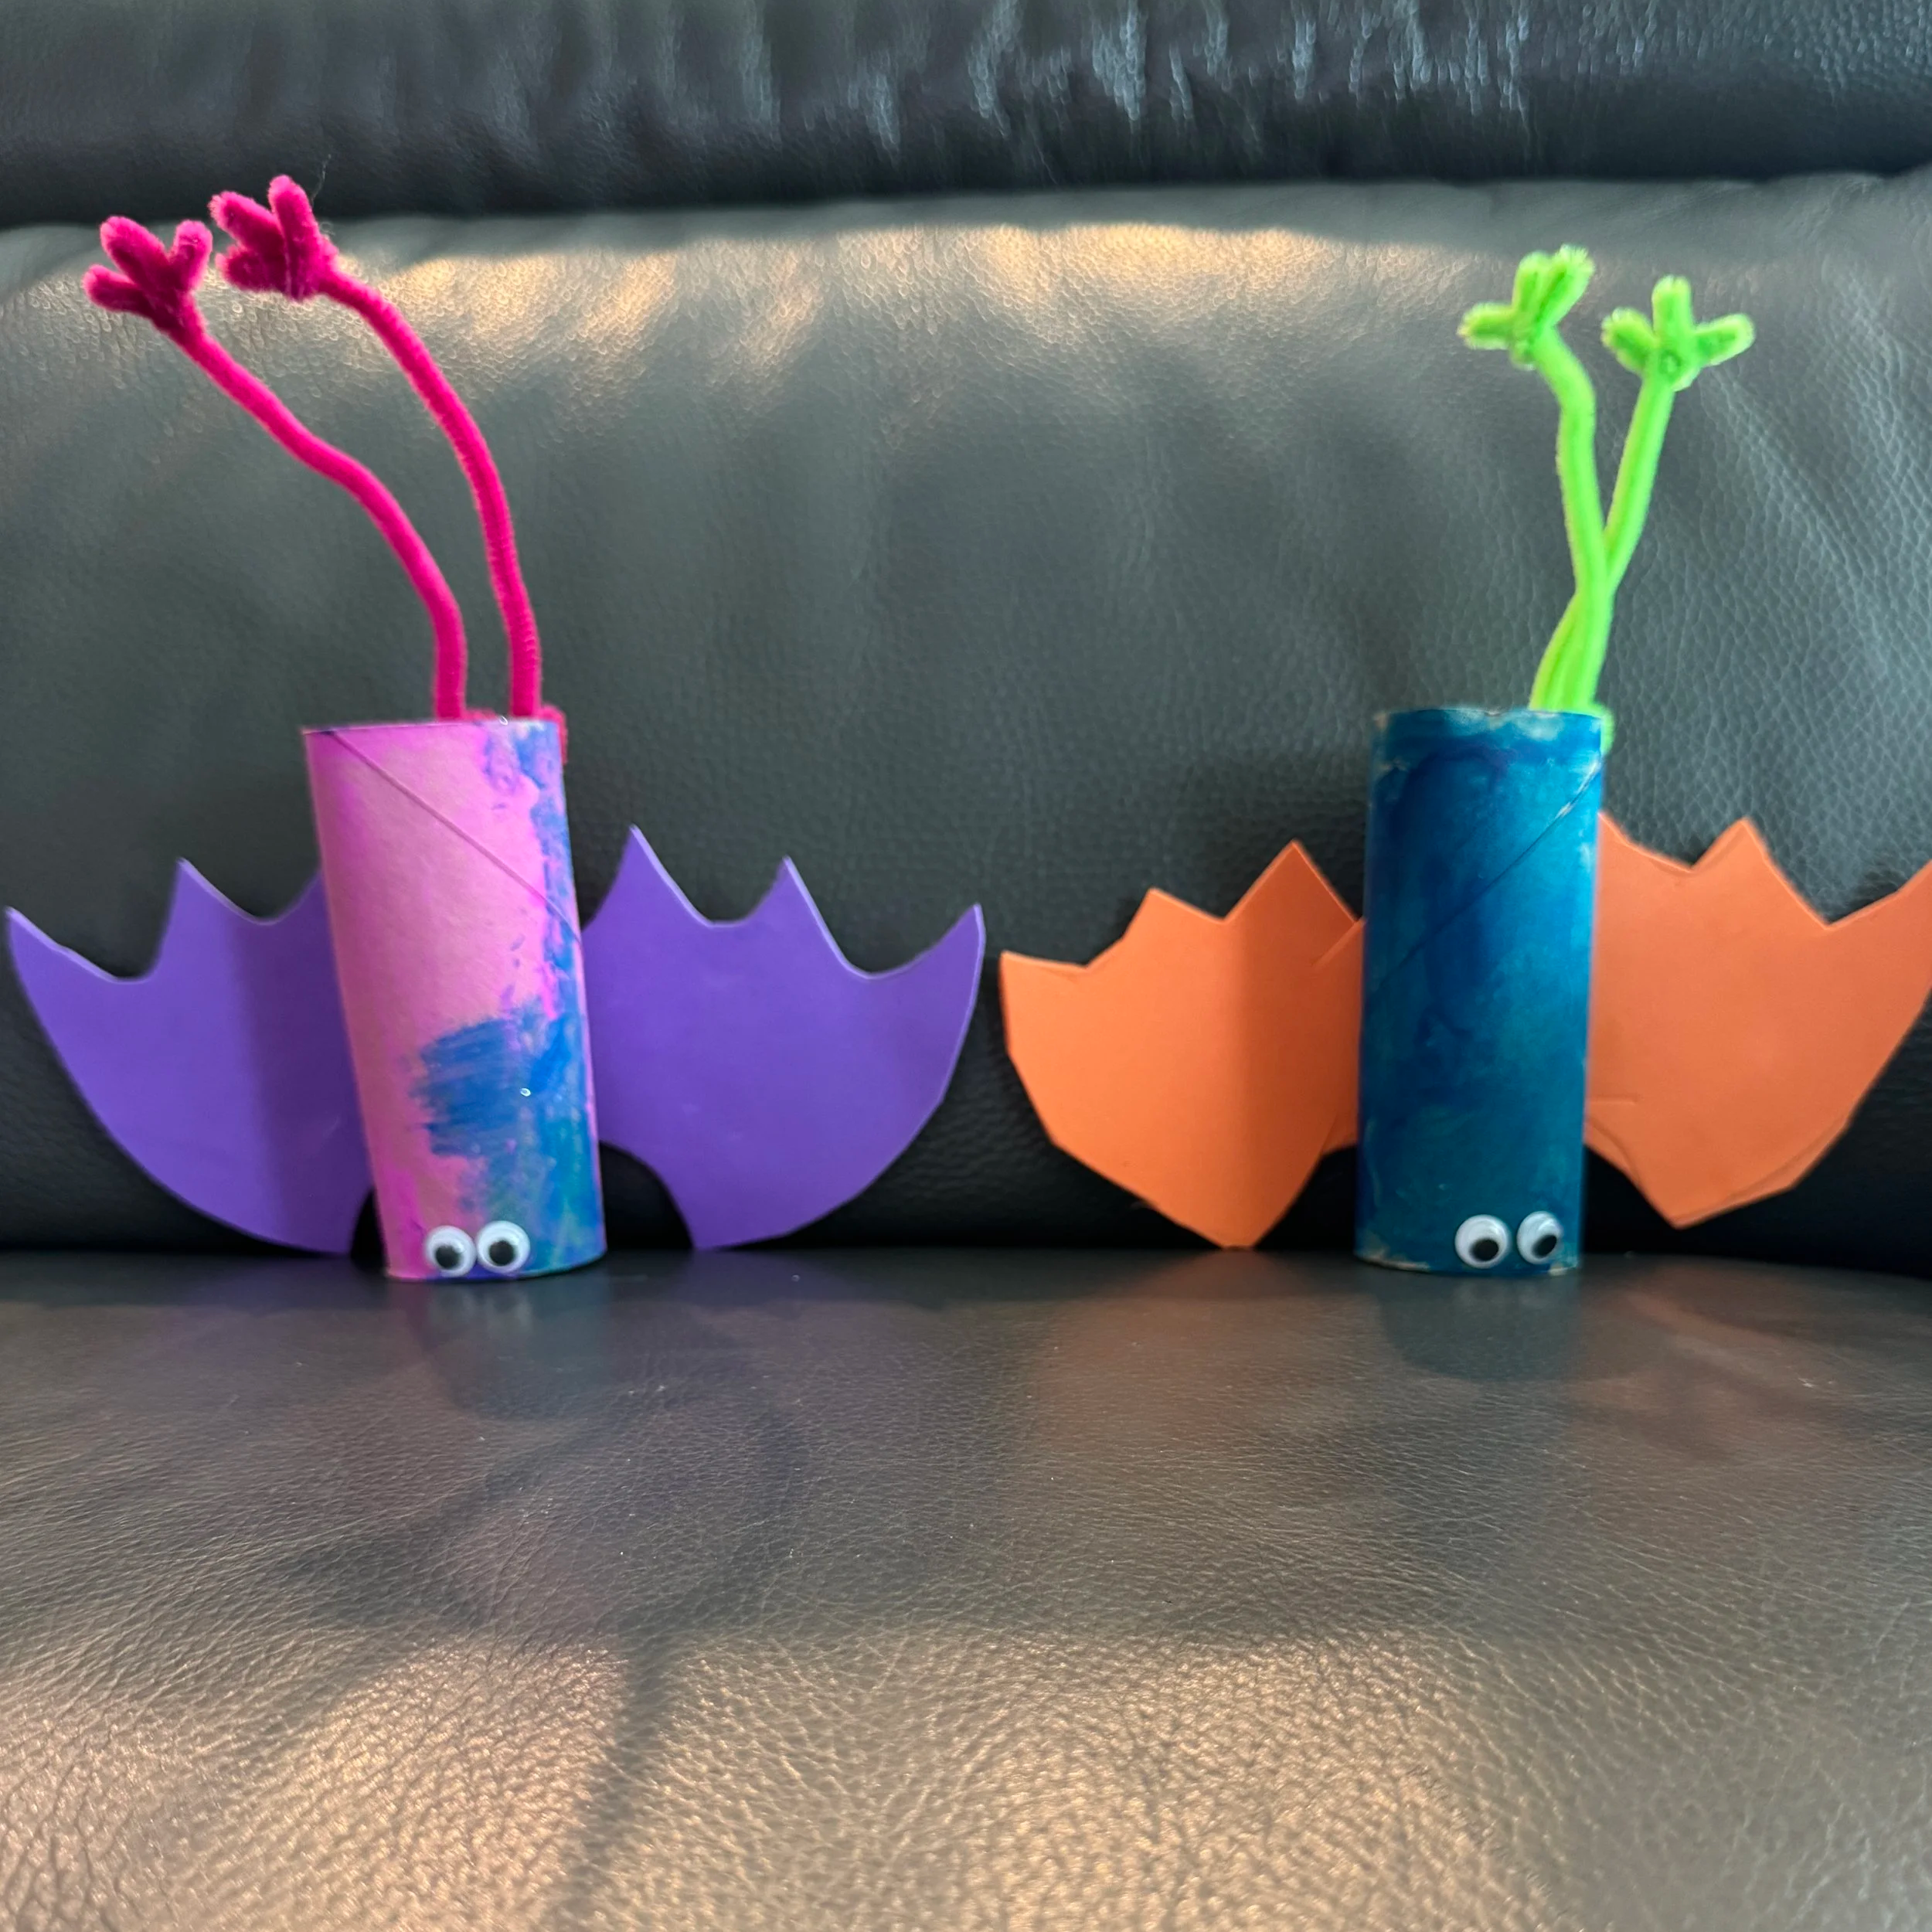
Pick one side of the roll and punch two holes for the feet. This is where you will attach your pipe cleaners. My kids opted for matching feet on the green and purple bats, while the black bat ended up with purple feet because that’s what we had.
Before attaching the feet, bend the end of each pipe cleaner into three small sections to create the “toes.” Twist the sections together (like a braid) so they stay in place, then feed the opposite end of the pipe cleaner through one of the punched holes. Cut off any excess pipe cleaner and secure it by wrapping it around the hole. Make sure to tuck the sharper end away so it doesn’t stick out. Repeat with the second foot, trying to keep the two feet roughly the same length.
4. Add eyes and face
Flip the roll over so the holes for the feet are toward the back. Glue on the googly eyes and paint or draw smiles, fangs, or silly expressions. Two of my kids skipped the mouth completely, while one went all in with fangs. There really isn’t a wrong way to do it!
5. Attach the wings
Glue the wings to the back of the painted roll and hold for a minute to secure. I used thicker craft foam for our wings because that’s what we already had, so heavier-duty craft glue worked best for us. If you’re using regular construction paper, basic craft glue or a glue stick should work just fine.
6. Once everything is dry, your bats are ready to display!
We wrapped the pipe cleaner feet around the hooks on each of my kids’ bedroom doors so the bats could hang upside down. My kids decorate their bedroom doors for pretty much every holiday, so these became part of the Halloween decorations when we finished.
Lengthen the fun: While waiting for the paint to dry, my kids practiced punching holes on scrap paper just for fun. It kept them entertained and extended the activity while the paint finished drying. Somewhere along the way we’ve collected a couple of shaped hole punches, which made this even more exciting for them.
Short on time? Paint the toilet paper rolls the night before, or skip the paint completely and wrap them in construction paper.
Display Ideas and Variations
Room Decor: Hang the bats from removable hooks on bedroom doors for easy Halloween decor.
Garland: String several bats together to hang across a mantel, window, or hallway.
Colorful Bats: They definitely don’t have to be black. My younger kids went with purple and green, while my oldest chose a more traditional black bat. He still ended up with purple feet because that’s what we had!
Mini Bats: Cut a paper towel roll into thirds to make smaller bats and create a bat family!
Why We Love This Craft
My kids love pretty much any excuse to pull out the art supplies, but I especially love projects when they can do a lot themselves.
They got practice painting, tracing, cutting, and using the hole punch. I’ll never forget being told my oldest was “behind” with scissors in VPK. I had no clue at the time that using scissors was something I should have been practicing with him, and I’ve talked to plenty of other parents over the years who didn’t realize it either. 😂
It’s one of those things that made me realize how much practice kids get from simple crafts like this without feeling like practice.
And, of course, we all ended up around the kitchen counter talking while we worked. That’s usually my favorite part, along with seeing how excited they are about what they made.
If you make these bats, I’d love to see them! Tag me on social media, @ashleycejka, so I can see all your spooky creations.
Toilet Paper Roll Bat Craft FAQ
Can toddlers make this toilet paper roll bat craft?
Yes, with adult help. My 2-year-old made one alongside my 4- and 10-year-olds. Younger kids can do a lot of the painting and decorating, while adults can help with scissors, tracing, hole punching, pipe-cleaner ends, and hot glue as needed.
What can I use for the bat wings?
Construction paper, cardstock, or craft foam will work. We used thicker craft foam because we already had it at home and liked the more structured wings.
How long does this toilet paper roll bat craft take?
It took us about an hour, depending on drying time. Your time will vary depending on your kids’ ages, how quickly the paint dries, and how many “side quests” your kids take along the way, like extra hole punching, cutting, or drawing.
Happy Halloween and happy crafting! 🦇